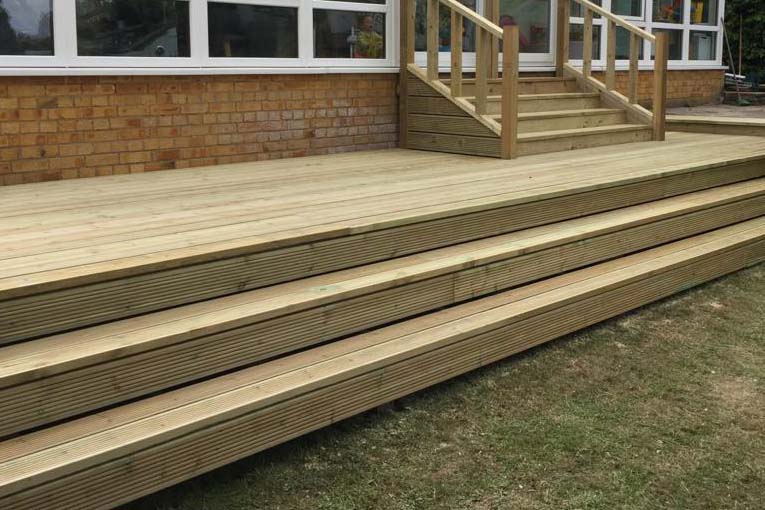
For people who always look forward to bringing new elements to the outlook of their house, especially in the garden area, decking kits always play a purposeful role. People often see it as a luxurious upgrade to lawns or garden areas. So, whether you want to give an entirely new look to the spacious area of your house or want a complete renovation, decking kits are good to go!
This guide will introduce you to the world of decking kits and why there is such a beneficial option. In addition to this, you will also get to know how you can install it in your garden without much hassle. But before we get deeper into the topic, let us first understand the conceptual meaning of decking kits for a brief introduction.
So, without further ado, let us begin our discussion!

What are decking kits?
Decking kits are a relatively practical and convenient option for people who want to lay an attractive flooring in their garden or outer space of their home. These kits usually come with all the parts a user would need to install in their garden or any other area near the home. Therefore, these are suitable for residential purposes and new projects for replacing the damaged area to give a new life to the previous flooring.
Why should you have decking kits for your garden?
Decking is one of the most remarkable ways to make your garden attractive. However, there are many other advantages of having decking kits for your garden apart from the aesthetic and beautiful appeal.
Here are a few advantages that go beyond the external beauty -
- It can also serve as an ideal space for entertaining your guests. Decking can serve as a great outdoor space if you want to entertain your guests, and what a fantastic place to spend a relaxing and happening evening with your friends and family.
- It is also a low maintenance option in comparison to other options available. Decking needs regular mopping and occasional cleaning apart from regular care. There is nothing much extra you need to do.
- It also provides enough flexibility in how you can modify it in the long term. The area does not just have to be around the back door where most people usually prefer it to have. For instance, if you choose to go with Timber decking, it is highly versatile. You can use it for ponds and similar water features for a casual place to keep away from excessive sunlight in your garden.

How to lay decking?
Now that we are well aware of the benefits of having a decking kit for your garden let us now understand the process to build your deck. Here are the eight significant processes involved in the installation -
Getting the right set of tools -
The first and most crucial step as you start building your deck is to ensure that you have the right tools. These tools ready during the initial steps will make your work extremely easy. However, it is equally necessary to note that the toolkit you will need for your installation depends on the decking boards.
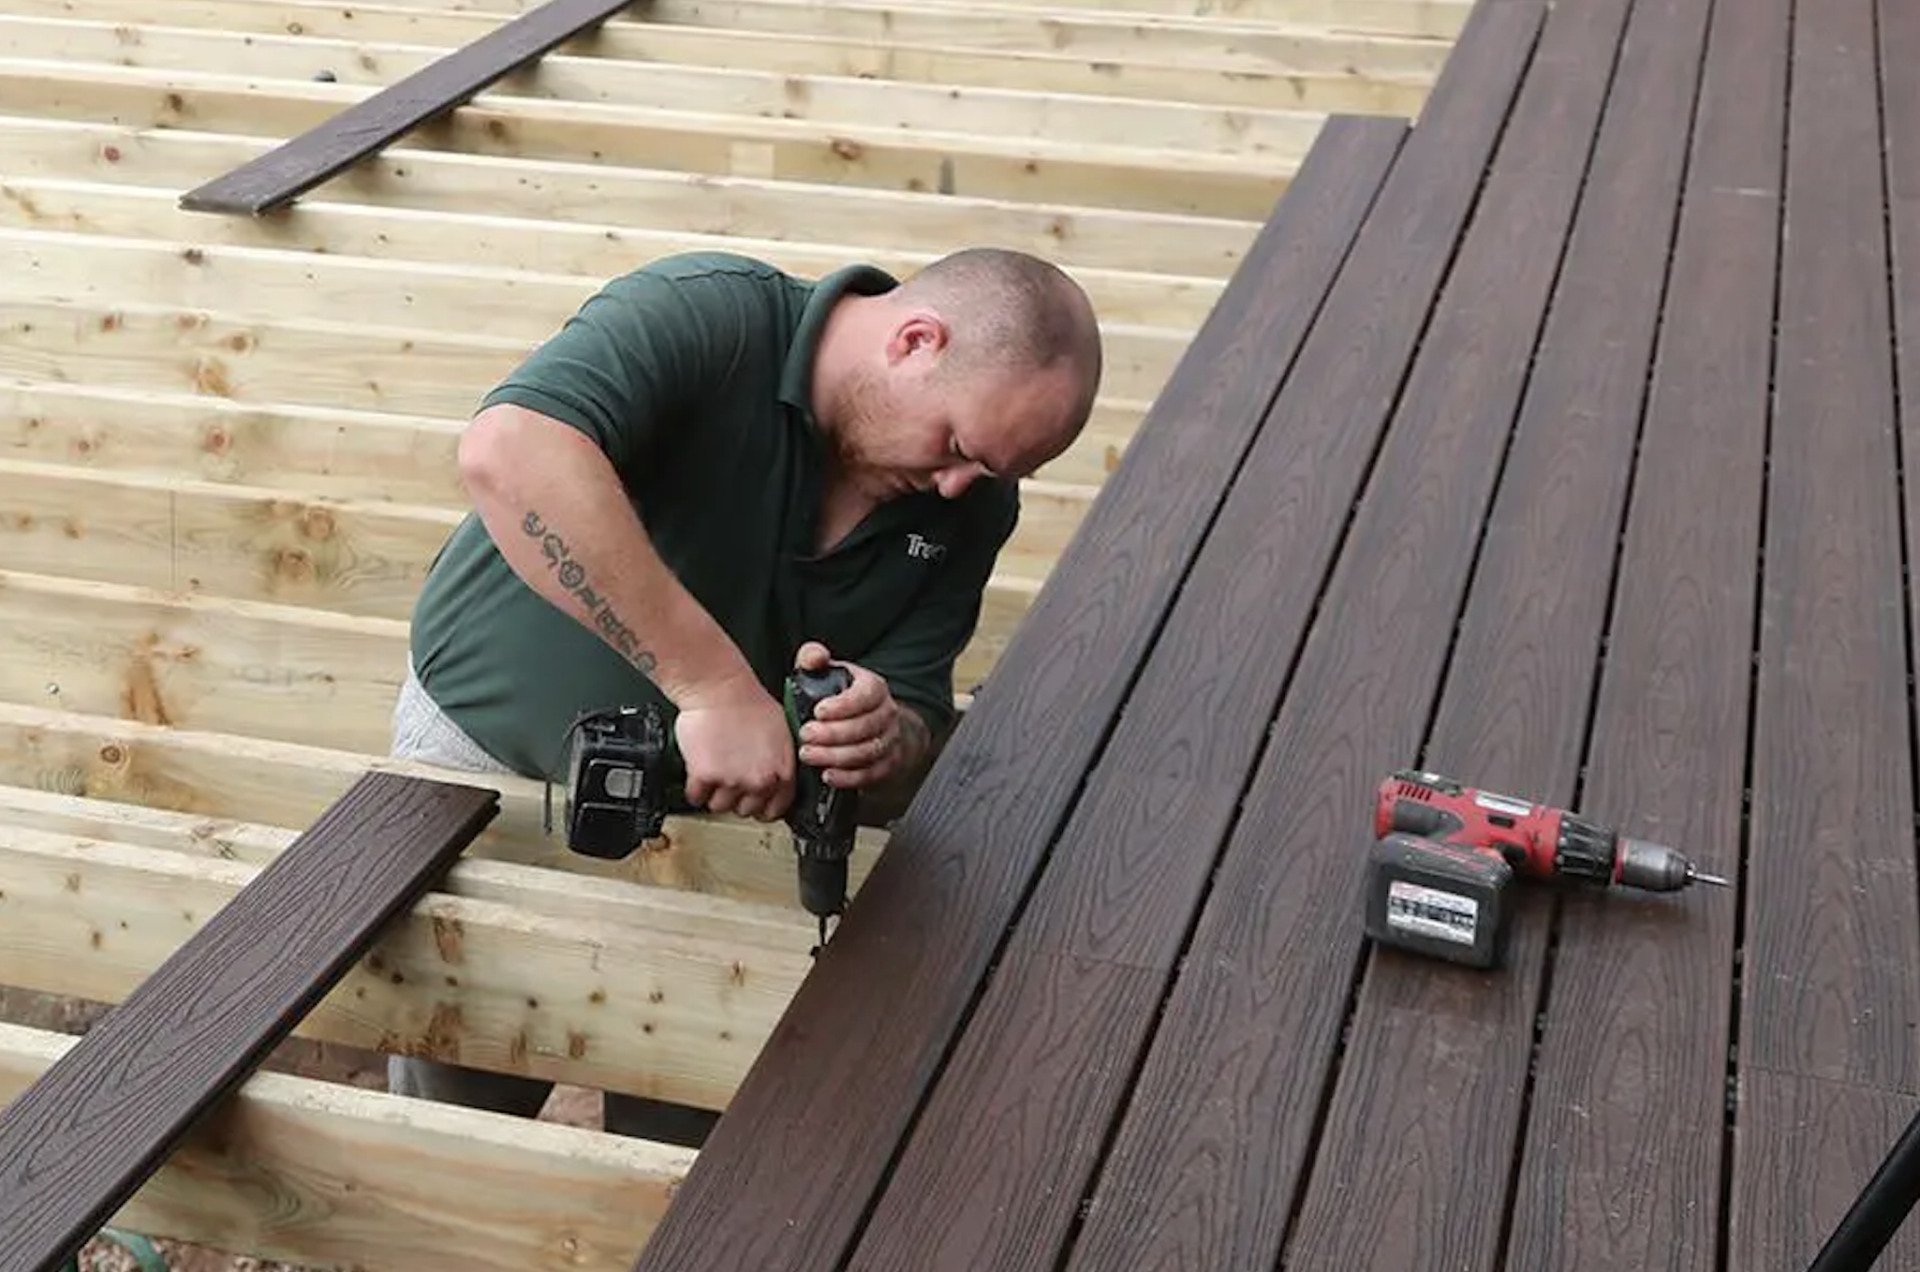
For instance, if you choose to go with a high-quality decking board, you will not need any special tools as conventional fasteners will easily do. Even if you choose to go with concealed options, you can quickly go with timber decking, but you will need additional hardware, including countersinking tools and screws. However, if you want to do a job easily, it is better to use a power saw for cutting, and fixing would need an electric drill. Moreover, you can also go with the measuring tape to measure the final output to ensure that your decking is even installed.
Choose your decking
The next important step is to choose your decking option. Select if you want to go with composite decking or responsibly sourced timber decking. These days, you can quickly come across a beautiful and wide range of decking options available designed to meet different requirements. Therefore, it is necessary to be particular about the decking you would prefer for your garden.
A few varieties of options come in various sizes, colours and finishes. There is no shortage in the range of styles and designs you can find for your installation. Most of these are easy to install and are unlikely to splinter without requiring any additional preparation or waterproofing. Thus, make sure that you are particular about the decking option you prefer for your garden before proceeding and layout any weed membrane underlay before starting.
Take the site measures and set them out
After selecting the decking option, the next major step is to measure the size of your deck framework to ensure that you have the right idea of quantity for materials. it is also necessary to have a correct estimation of the tools and methods suitable for the installation. Doing so in advance will also help you save a lot in terms of money and time. Therefore, it is necessary to perform this first.
While setting out the measures, ensure that you double-check the width and length because it is necessary to consider the features you will include. After you are done with this step, cut out the decking boards to check for the size. We suggest you only cut the boards if you need a shorter length. It will save a lot of work for you and ensure that the length you cut out of the board is consistent.

Board positioning
The next step after cutting off the board is to position them. However, it is necessary to ensure that your first board is laid straight because it will shape how the rest of your boards will appear next to it. After checking for this, make sure that the measurement aligns with the spirit level and streamlines to meet the edge line outside the deck frame.
Fixing the decking board
After positioning the board and ensuring that it is straight, securing it to the joists is next. Whether you fix that checking board on the top of its side or the type of fasteners you use, like decking screws, you must ensure that you fix them in the centre. It should be regardless of whether it appears on the centre part or the edge of it.
The priority should be to ensure that the boards are on the safer side. Moreover, If you are using fasteners that are frequently exposed, it is necessary to keep them in a straight order to ensure that your decking has a good appeal.
Repeat board placement
After correctly placing the first board, you need to repeat the previous steps until you completely cover the framework of your desk. However, it is necessary to ensure that there is a minimum 3-6mm gap between each board so that there is sufficient space for expansion if needed. To keep a sufficient gap between the boards, you can also choose to use wedges and spacers. Another great way to do this is to knock a nail on each decking board and place them next to the board flush.
On the other hand, you must also ensure that the boards are placed in a way that you can cover multiple boards according to the length of your deck. Make sure to lay off your bones in small groups so that you can make sufficient space for adjustments as you proceed with the further steps. For a final checking, ensure that your decking is straight using a string line or spirit level.
End trimming
After you have laid off and secured your decking, The next step is to cut any overhanging board so that there is a sufficient gap on the edge of each deck frame. You can take an approximate measure of 20mm over each edge for this step. Getting all the boards of equal size on end makes it easy for you to ensure consistency in finishing.
Finishing
After you are done with the trimming, screen out any part of the exposed frame by attaching boards to each framework. Again, it is necessary to have the entire outlook complement the decking you have chosen. Lastly, do not forget to polish your project.
Final Takeaway
In a nutshell, we can say that decking kits are no less than a blessing for people who want to give a whole new look to their particular garden area or pressure treated lawn. These are convenient because they are a relatively better option and because it is easy to install and maintain them in the long term. So, if you are also thinking about installing a
decking kit in your garden, we strongly recommend you go ahead. It will surely come as one of the best decisions you would ever take to level up the beauty of your garden and give it a whole new look!
Finance Available with iDeal Finance.
Looking for a bespoke log cabin?
Fill in our form or call to set up a meeting.
Website Enquiry
Contact Us
Unit 5, Poplar Farm
Tealby Road
Market Rasen
Lincolnshire
LN8 3UL
T: 01673260110
E: josh@northernlogcabins.com

Proud Members of The Guild Of Master Craftsmen
All Rights Reserved | Northern Log Cabins Limited - 13338195


